
How to Set Up a POS System with DirectVault: Step-by-Step Tutorial
MH
Setting up a Point of Sale (POS) system with DirectVault is a streamlined process that can greatly enhance your business operations. Whether you're a small retail shop or a bustling cafe, DirectVault offers a seamless experience to manage transactions and inventory. This guide will walk you through the setup process step by step.
Getting Started with DirectVault POS
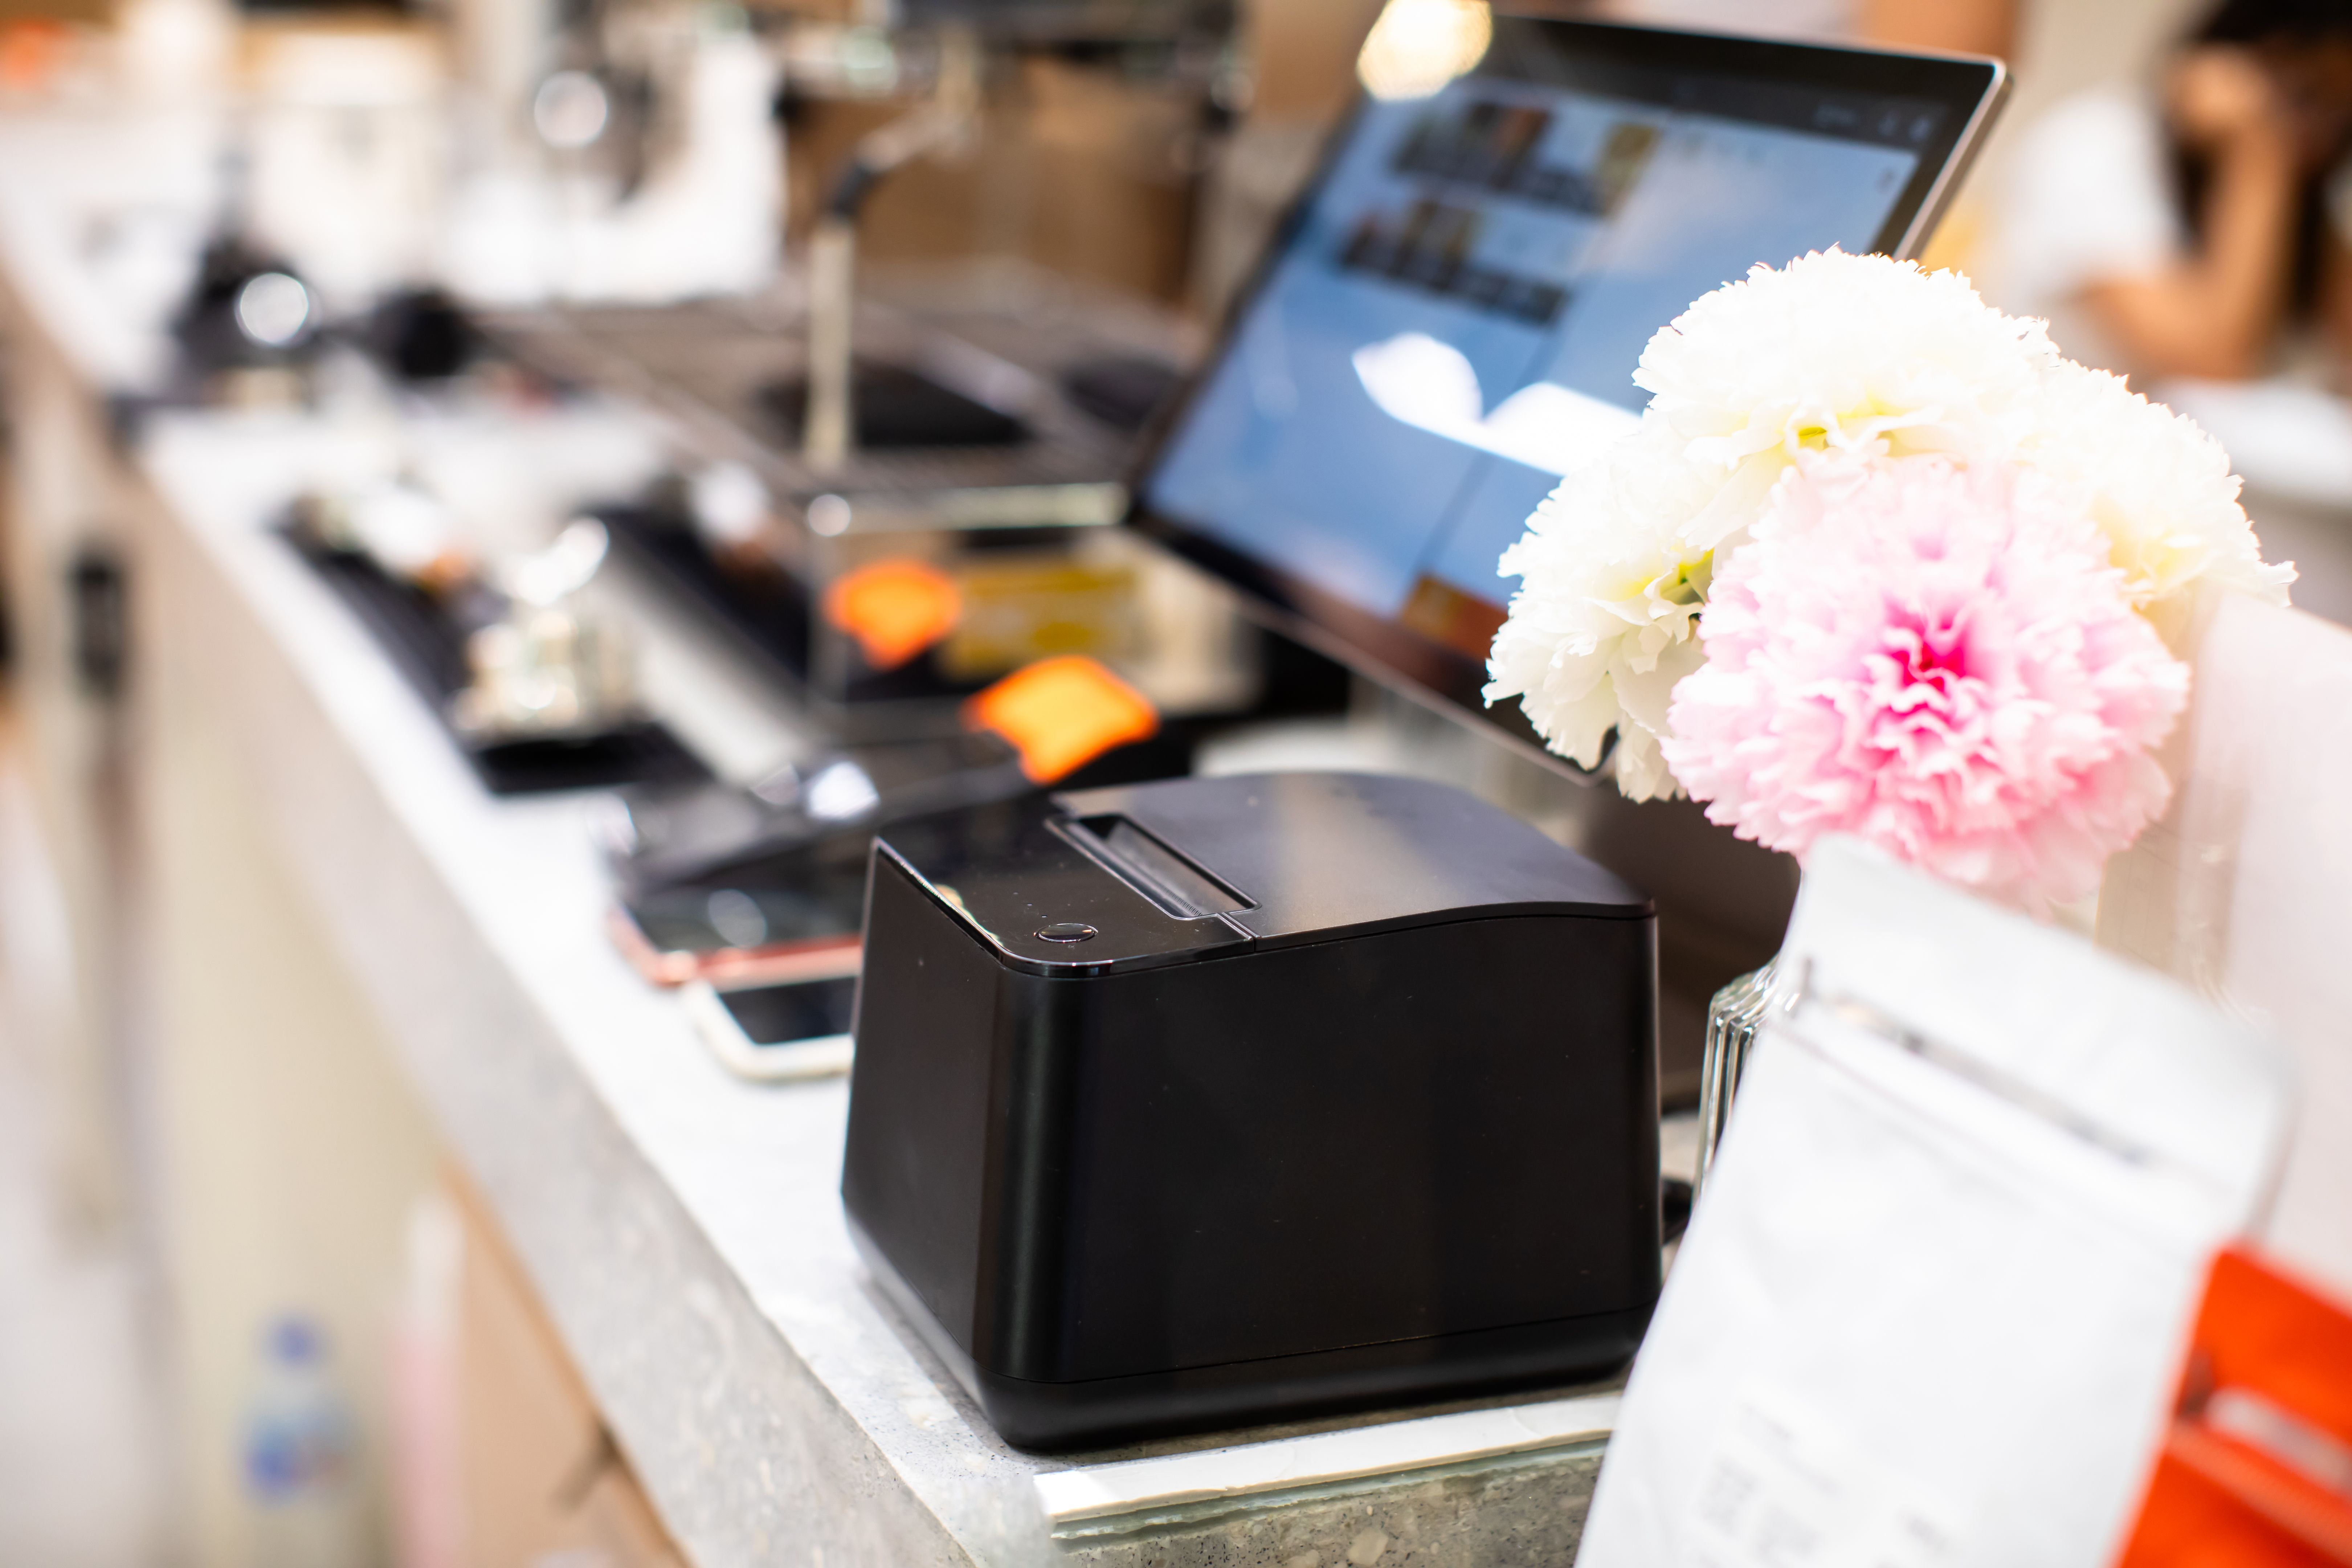
Before diving into the setup, ensure you have all the necessary components. You will need a compatible device, such as a tablet or computer, and a stable internet connection. Additionally, gather any peripheral devices like barcode scanners or receipt printers that you plan to integrate with your POS system.
Creating Your DirectVault Account
The first step is to create an account with DirectVault. Visit their website and sign up using your business details. Once registered, confirm your email address to activate the account. This will give you access to the DirectVault dashboard, where you can begin configuring your POS system.
Configuring Your POS Hardware
After setting up your account, the next step is configuring your hardware. Connect your device to any peripherals you plan to use. DirectVault supports most industry-standard equipment, so ensure compatibility beforehand. Follow the manufacturer's instructions for connecting each device.
- Connect barcode scanners via USB or Bluetooth.
- Install receipt printers according to the instructions provided.
- Ensure your device is fully charged or connected to a power source.
Installing and Setting Up DirectVault Software
With your hardware ready, it's time to install the DirectVault software. Download the application from the DirectVault website and follow the installation prompts. Once installed, log in using your account credentials.
Customizing Your POS Settings
After logging in, customize the settings to fit your business needs. Navigate to the settings section in the dashboard and adjust the following:
- Business Information: Enter details such as your business name, address, and contact information.
- Tax Settings: Configure tax rates applicable to your products.
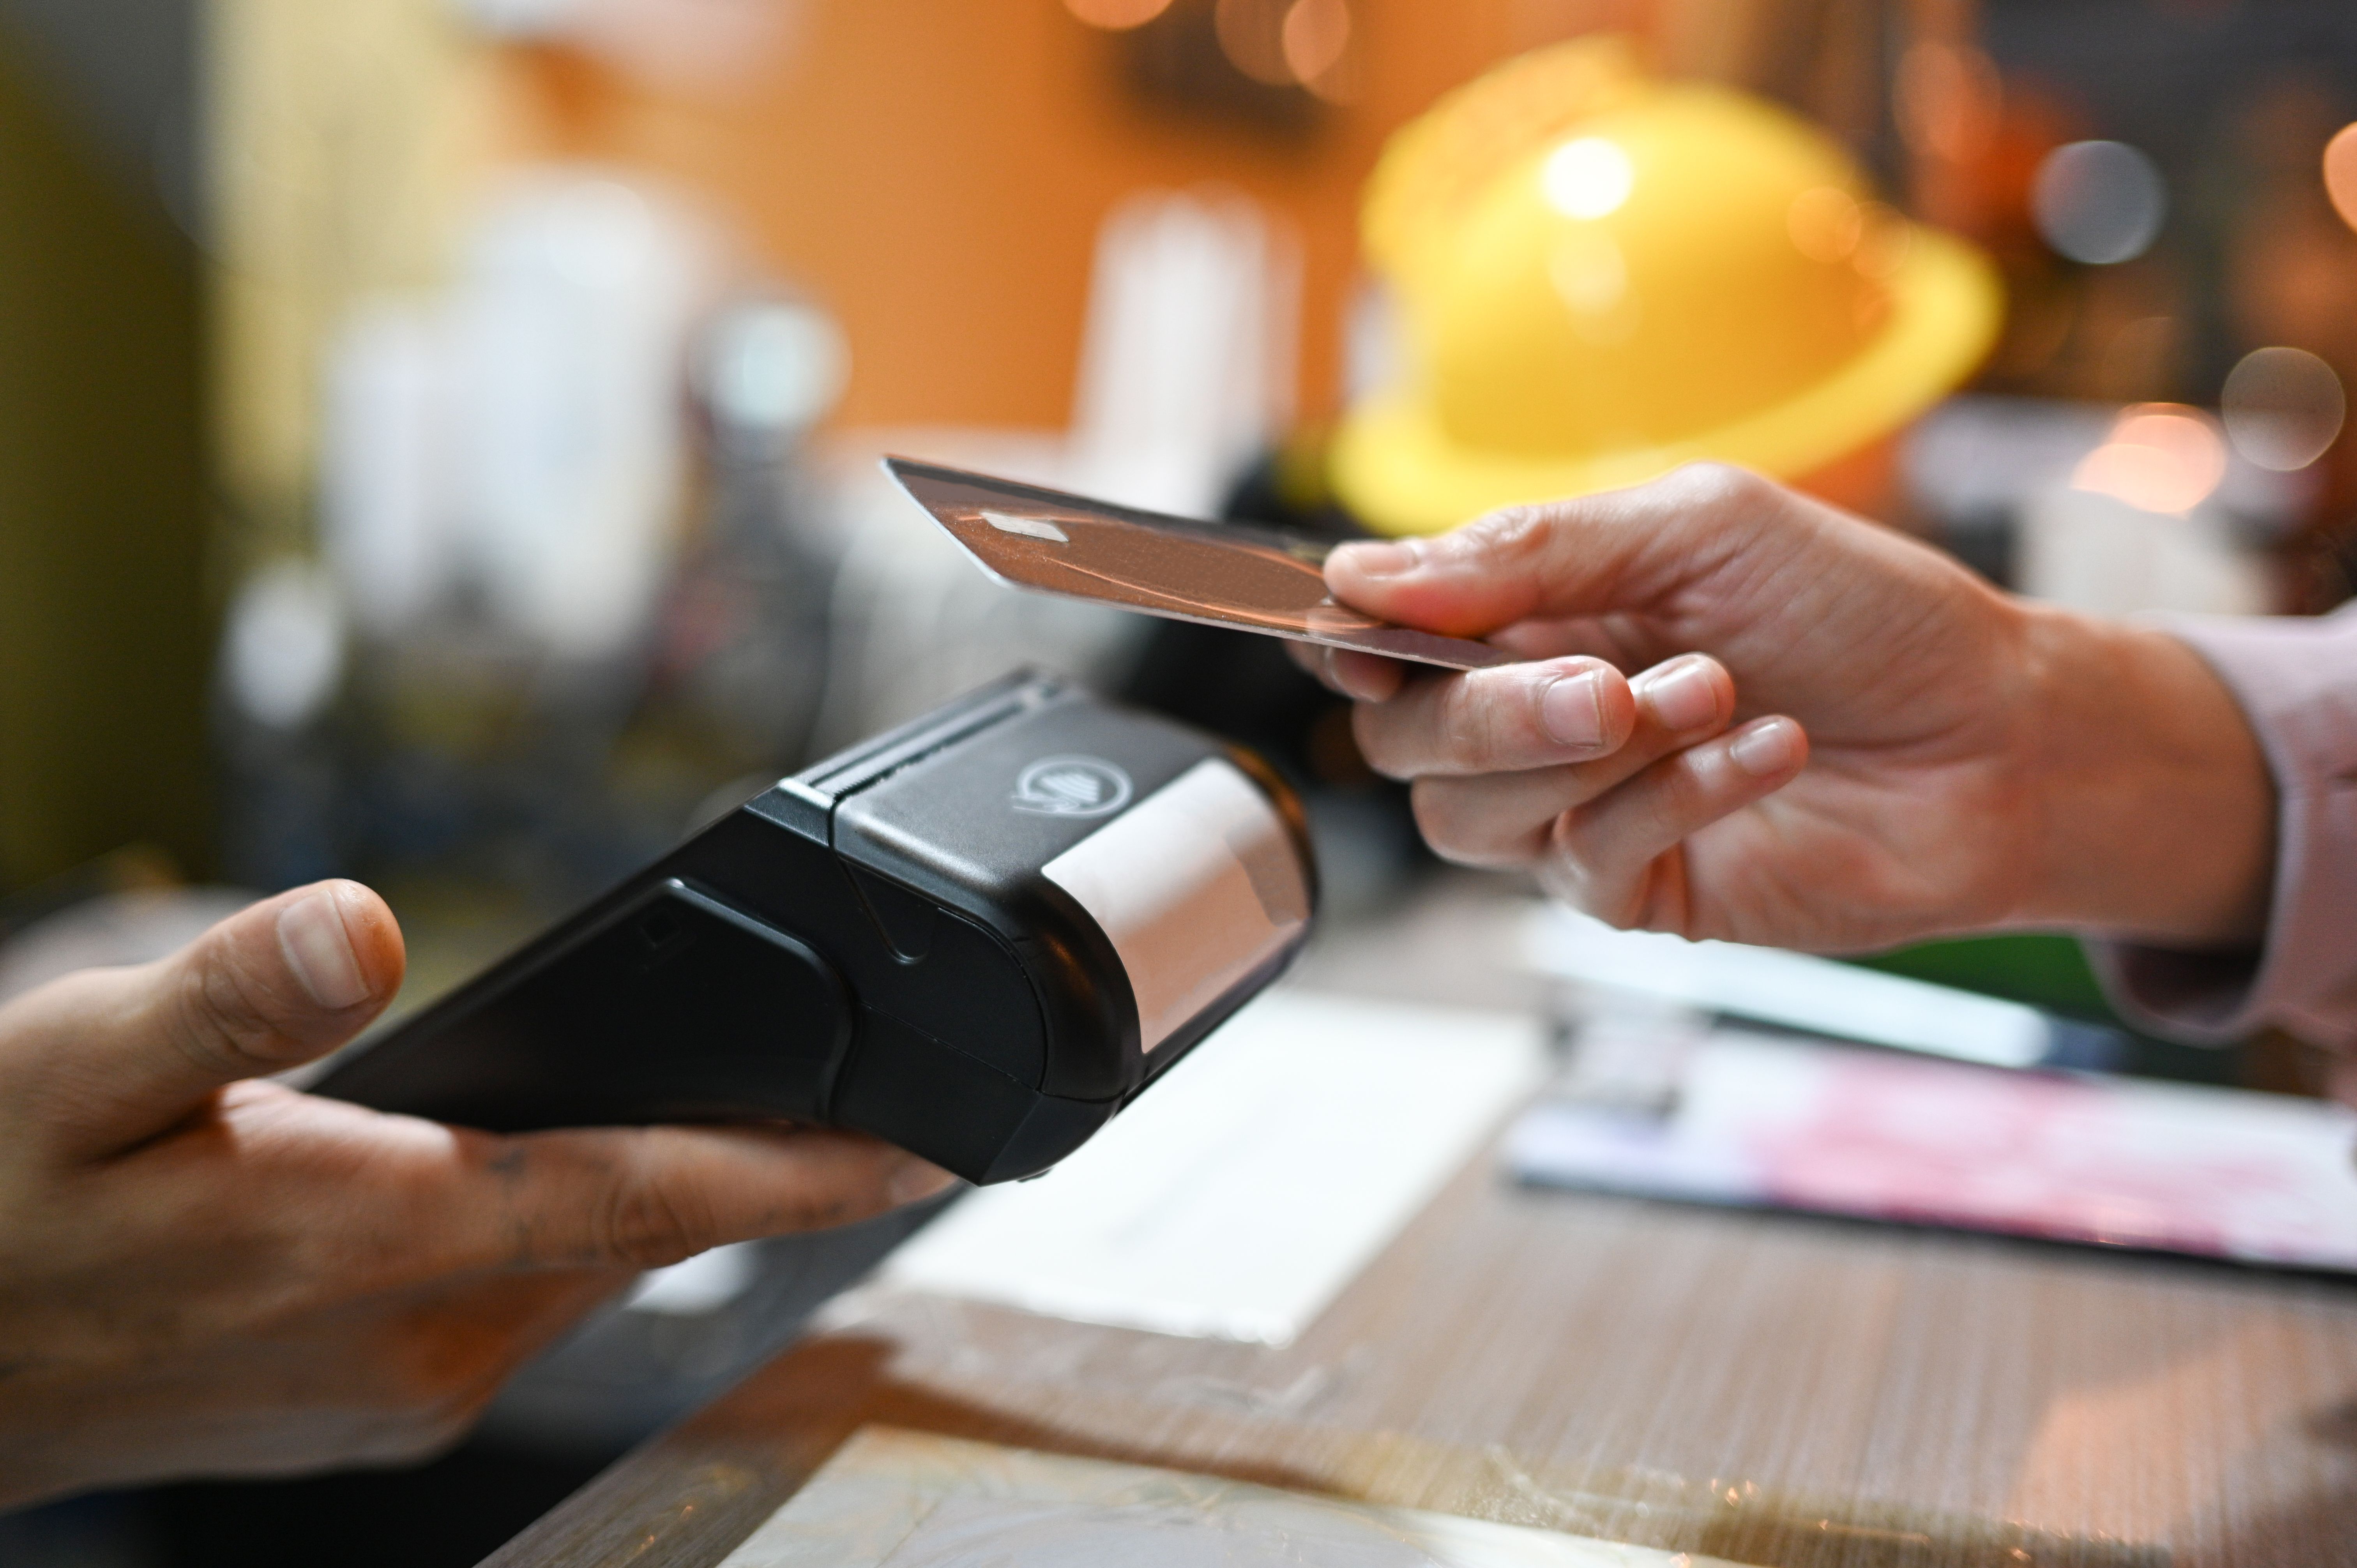
- Payment Methods: Set up various payment options like credit card, cash, or mobile payments.
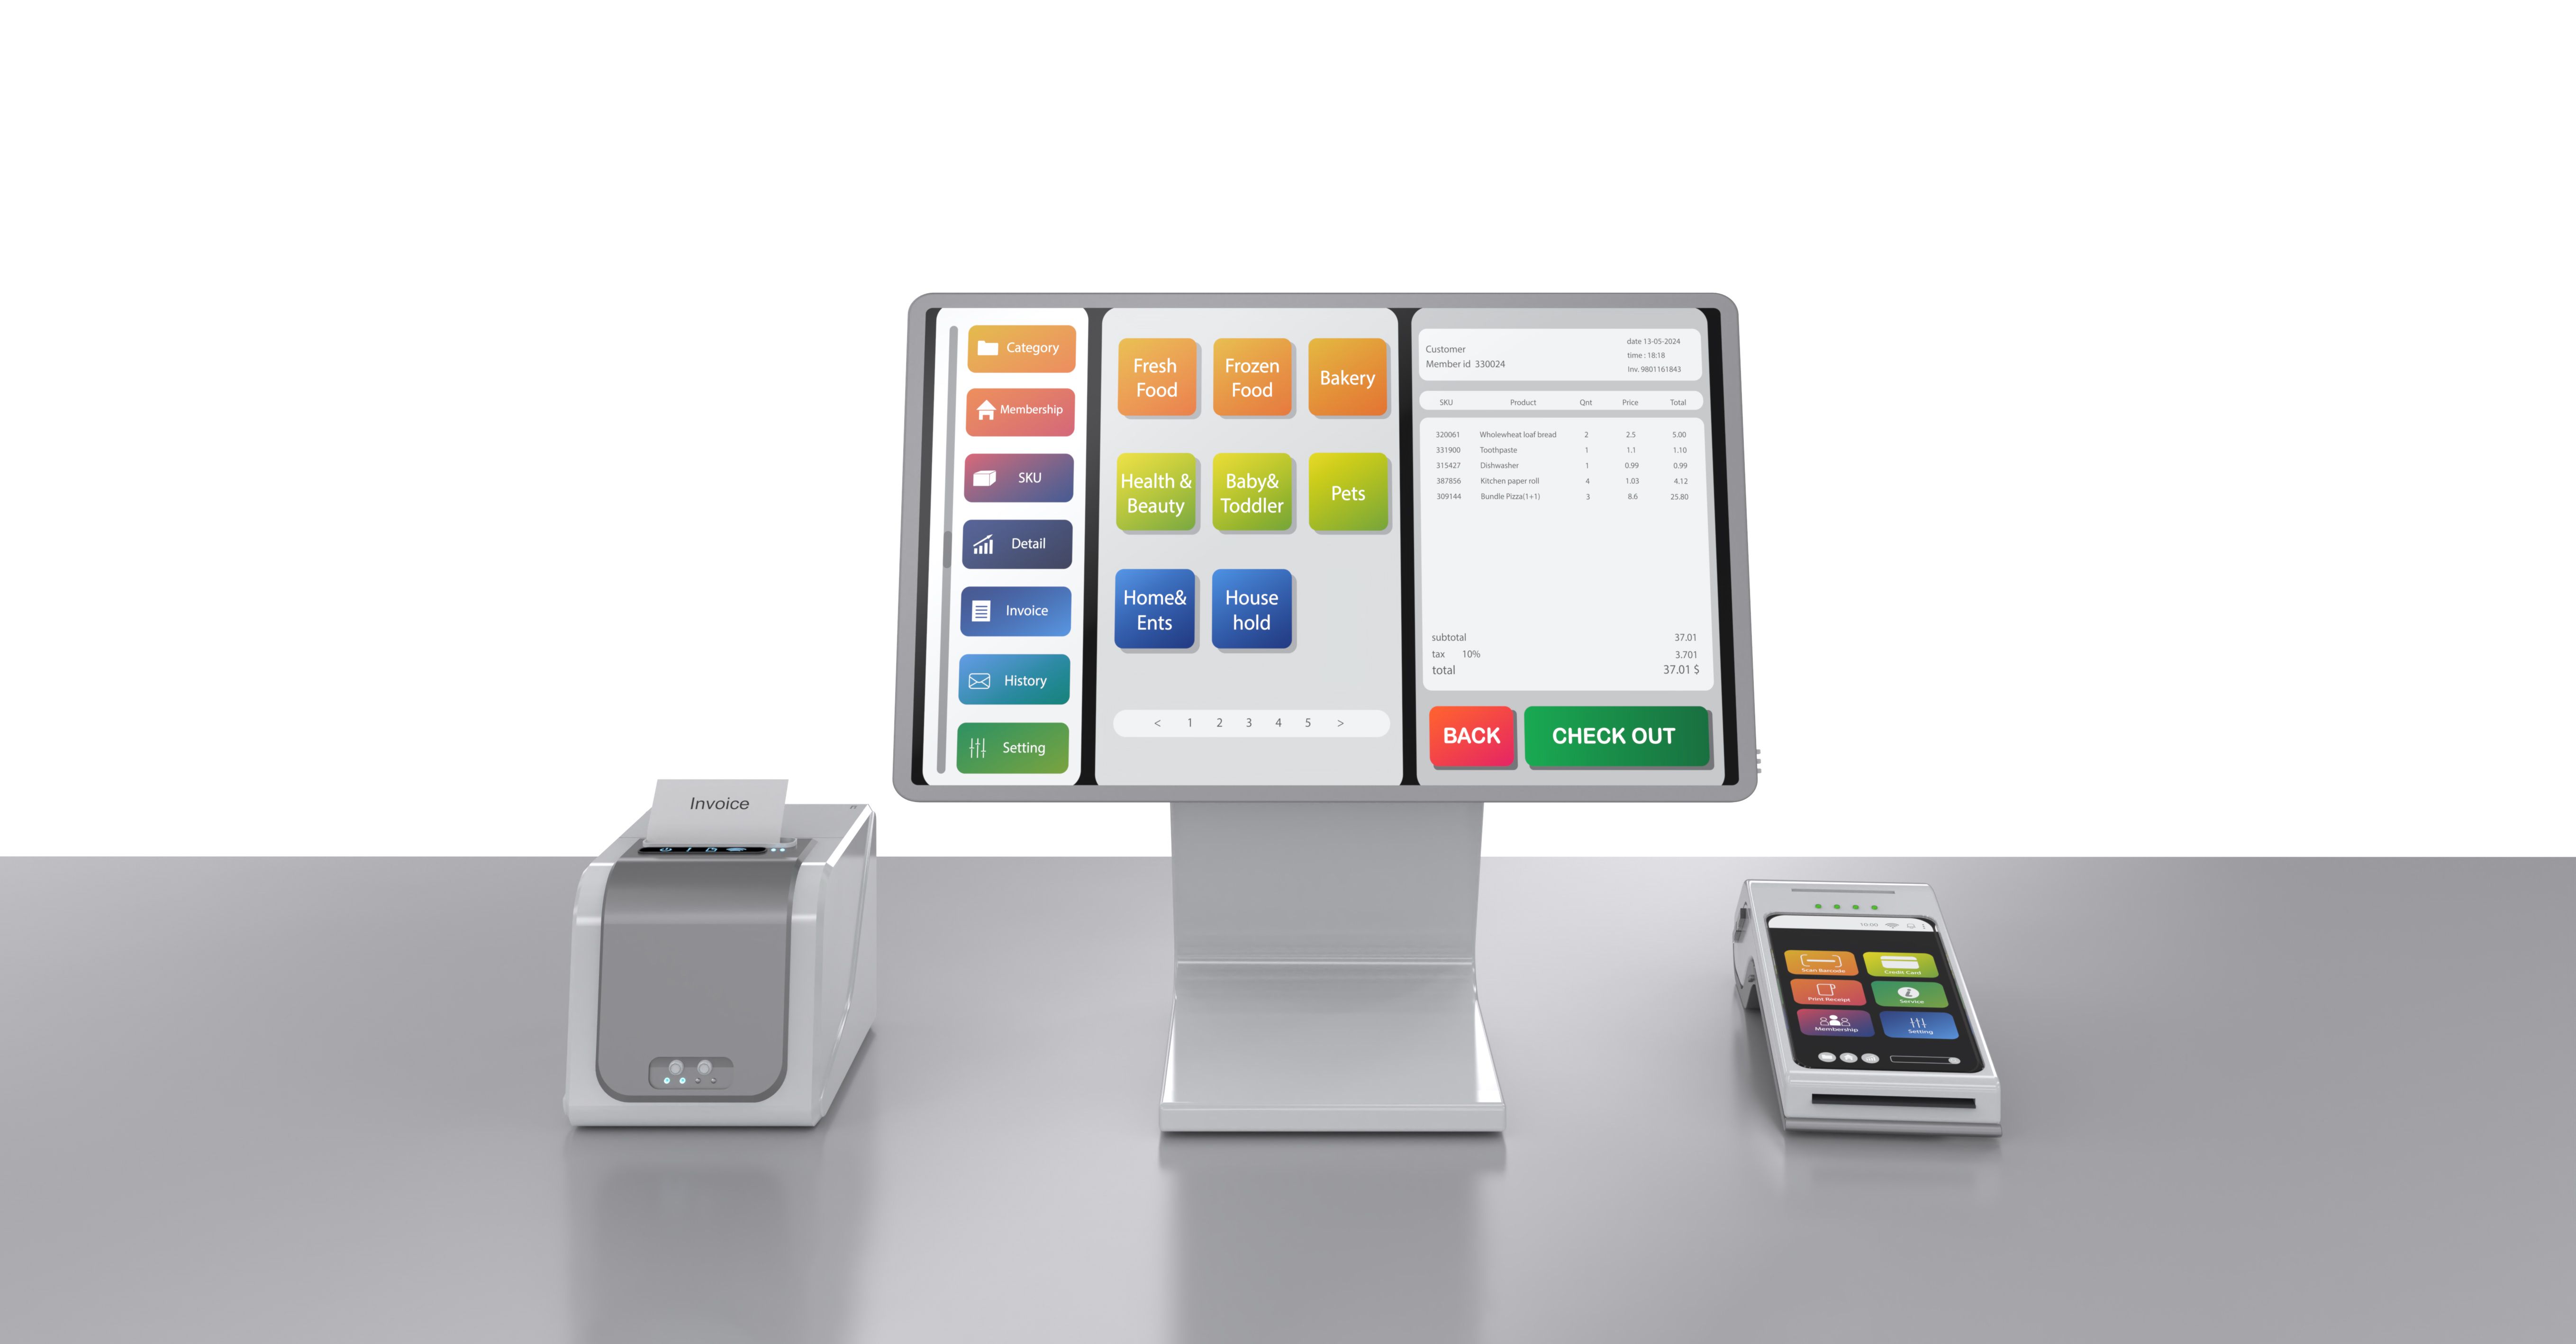
Adding Products and Inventory
Now that your POS is configured, add your products to the system. This involves entering product names, prices, and inventory levels. DirectVault allows you to categorize products for easier management. If you have a large inventory, consider importing data using a CSV file for efficiency.
Training Your Staff
With everything set up, it's crucial to train your staff on using the new POS system. DirectVault offers user-friendly interfaces, but a training session will ensure everyone is comfortable with processing transactions and managing inventory. Encourage your team to explore the features and ask questions.
Testing Your POS System
Before going live, conduct a thorough test of your POS system. Process a few test transactions to ensure everything operates smoothly. Check that receipts print correctly, inventory updates in real-time, and all payment methods function as expected.
Once testing is complete, your DirectVault POS system is ready to handle real transactions. With this setup, you can enjoy efficient sales processing and effective inventory management, helping your business run more smoothly.