
How to Set Up a POS System with DirectVault: A Step-by-Step Guide
MH
Introduction to DirectVault POS System
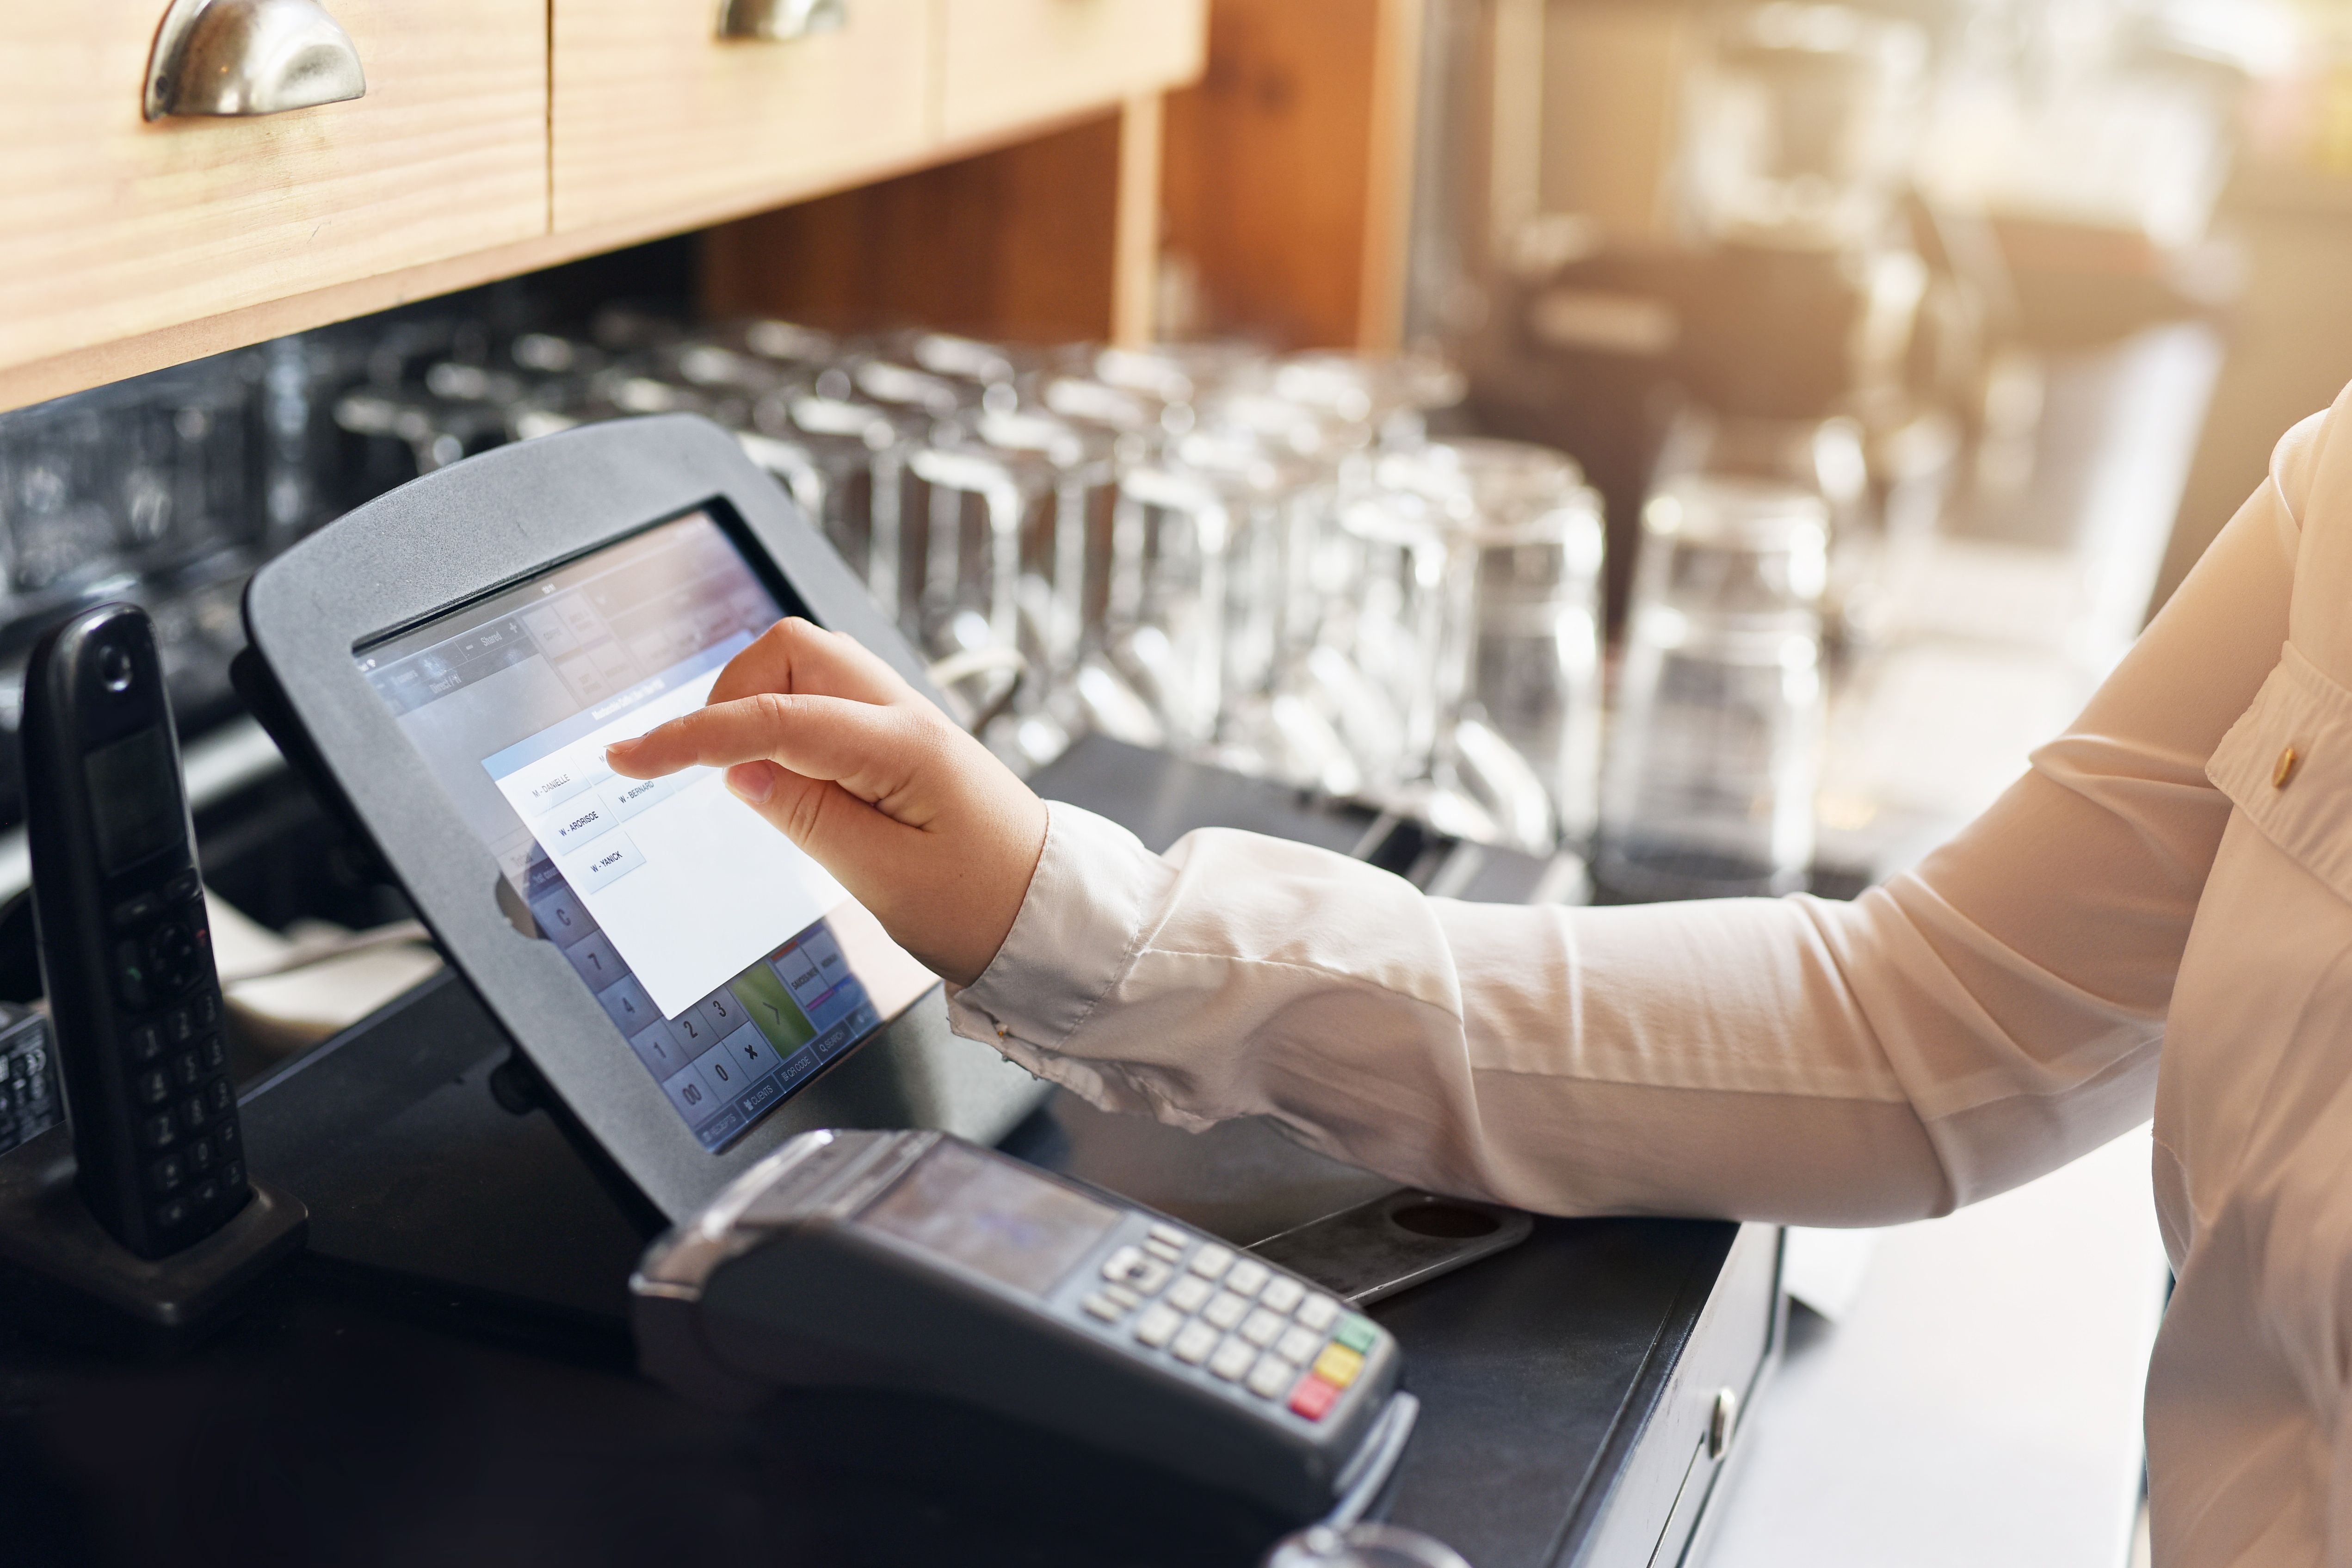
Setting up a POS (Point of Sale) system is crucial for any retail or service business that wants to streamline operations and improve customer experience. DirectVault offers a robust and user-friendly POS system tailored to meet various business needs. In this guide, we will walk you through the steps to set up a DirectVault POS system effectively. By the end of this process, you will be ready to manage sales, inventory, and customer interactions seamlessly.
Step 1: Understand Your Business Needs
Before diving into the technical setup, it's important to evaluate your business requirements. Consider factors such as the size of your inventory, number of locations, and anticipated sales volume. This will help you determine the necessary features and hardware for your POS system. DirectVault provides scalable solutions that cater to both small businesses and larger enterprises.
Step 2: Gather Necessary Hardware
Once you have a clear understanding of your needs, gather the required hardware. Typically, a POS system includes a terminal, receipt printer, barcode scanner, and cash drawer. DirectVault supports a wide range of hardware options to ensure compatibility and optimal performance. Make sure all components are compatible with DirectVault for a smooth setup process.
Step 3: Install DirectVault Software
With your hardware ready, proceed to install the DirectVault software. Follow these steps:
- Download the latest version of DirectVault from the official website.
- Install the software on your POS terminal following the on-screen instructions.
- Ensure that your system meets the minimum software requirements specified by DirectVault.
Step 4: Configure System Settings
After installation, configure the system settings to align with your business operations. This includes setting up tax rates, payment methods, and user permissions. DirectVault offers a comprehensive dashboard where you can make these adjustments effortlessly. Take the time to familiarize yourself with the interface and customize it according to your preferences.
Step 5: Import Inventory and Customer Data
An essential part of setting up your POS system is importing your inventory and customer data. This process can usually be done through a CSV file or by directly entering data into the system. Ensure that all product details, such as SKU numbers and pricing, are accurate to avoid discrepancies during transactions.

Step 6: Train Your Staff
Once the technical setup is complete, it's crucial to train your staff on how to use the DirectVault POS system. Conducting training sessions will help them understand how to process sales, manage inventory, and handle customer inquiries effectively. DirectVault provides user-friendly interfaces, making it easier for staff to adapt quickly.
Step 7: Test and Launch Your POS System
Before going live, conduct a series of tests to ensure that everything is functioning correctly. Run test transactions, verify receipt printing, and simulate customer interactions. This step is vital to identify any potential issues and rectify them before full-scale operation.
Conclusion
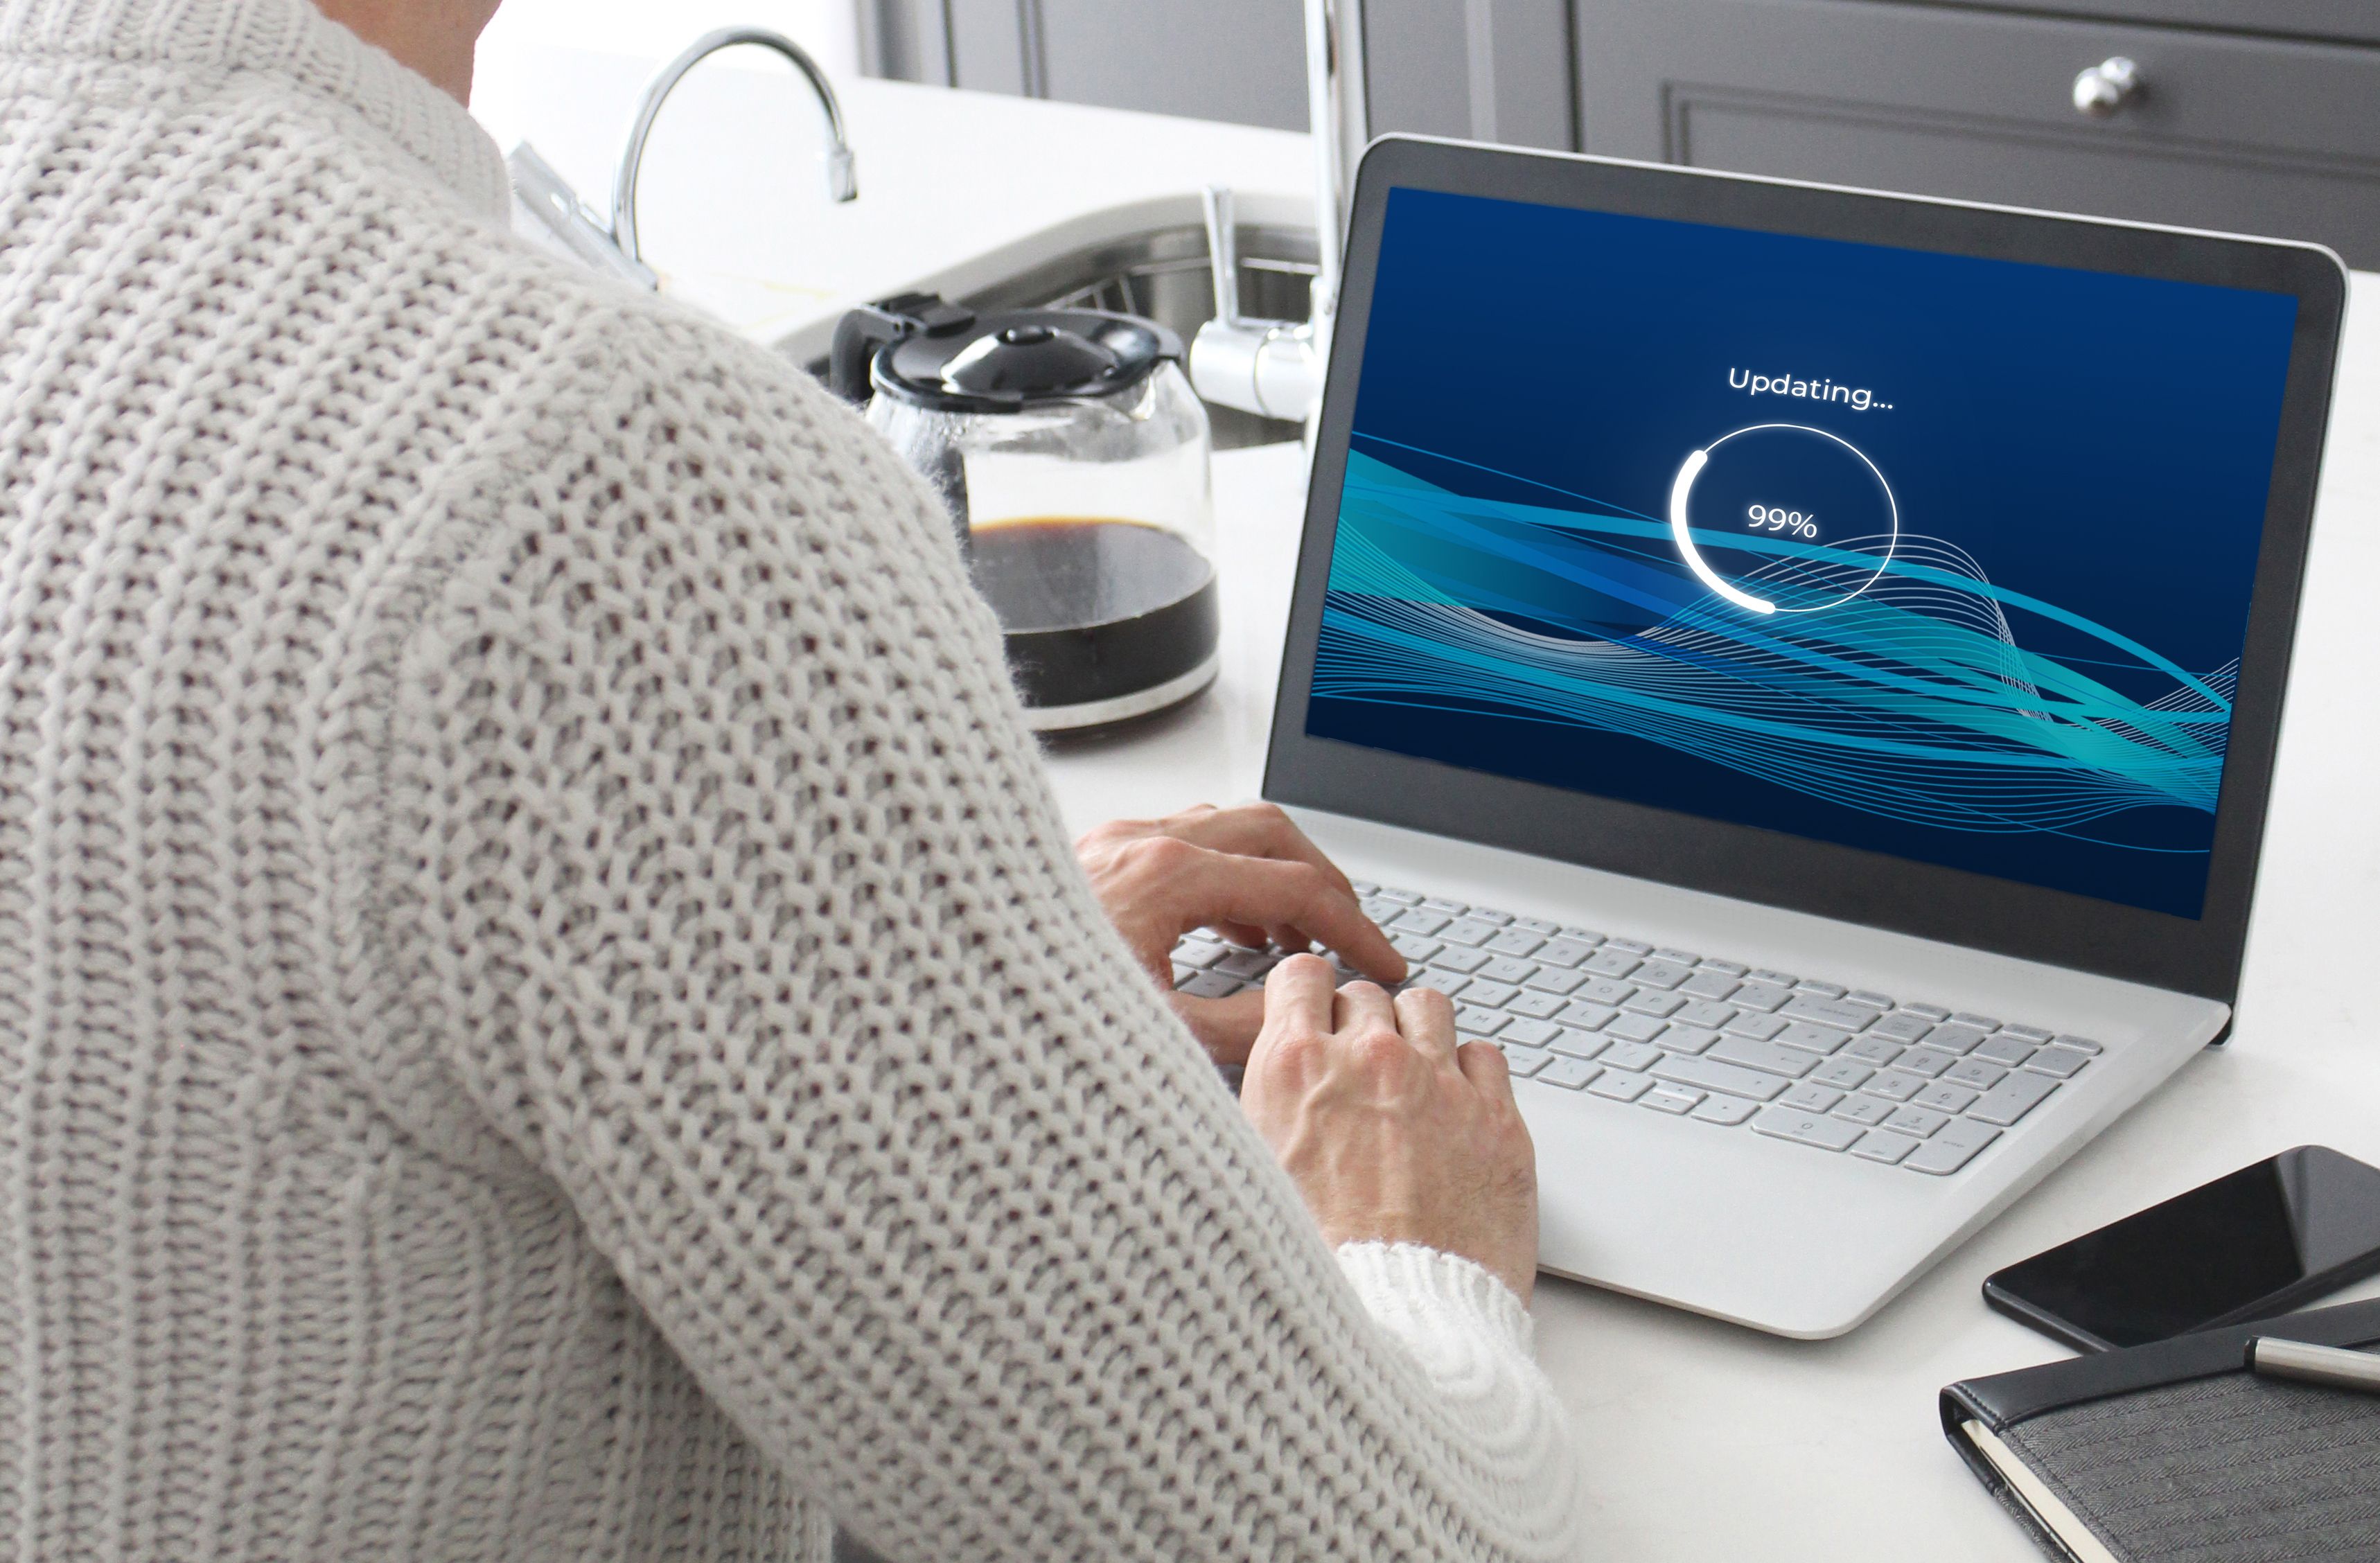
Setting up a POS system with DirectVault is a straightforward process that can significantly enhance your business operations. By following these steps, you'll be well-equipped to handle sales efficiently and provide an excellent customer experience. Remember, consistent monitoring and updates are key to maintaining a smooth-running POS system. Embrace the technology and watch your business thrive!